


How to do Surya Namaskar?
Date
Duration
4 min read
Surya Namaskar, also called sun salutation, is an ancient yoga technique.
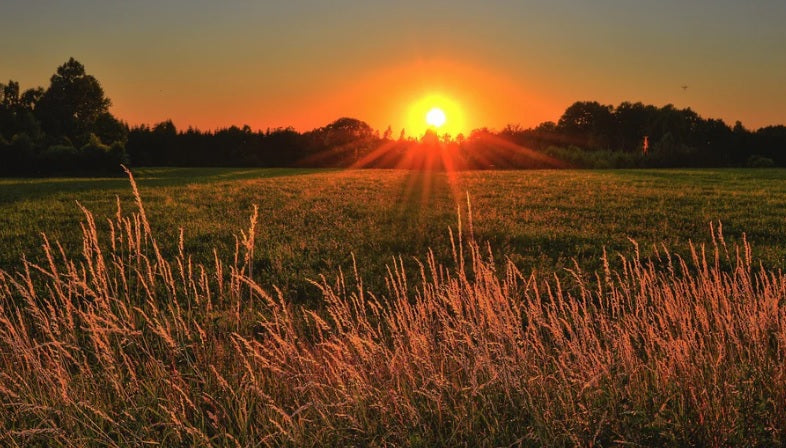
Surya Namaskar is a dedication to the Sun, for sustaining life on earth. Sun Salutation is best performed in the early morning on an empty stomach. Each round of Sun Salutation consists of two sets, each of which consists of 12 yoga positions. Doing Surya Namaskars is useful for strength, stress relief and weight loss. Surya Namaskars can be done in different ways according to various schools of yoga, but it is best to follow one version regularly for better results.
Exercise Tip: For the next 10 days, do 12 rounds of Surya Namaskar along with other yoga poses followed by Yoga Nidra meditation. You will be amazed by the joy, peace and positivity it brings to your life.
Benefits of Surya Namaskar:
- It helps in keeping you disease-free and fit.
- Blood circulation is improved.
- Abdominal muscles, lungs, lymphatic system, spinal nerves, and other internal organs are all stimulated.
- Tones the muscles of the spine, neck, shoulder, arms, hands, wrist, back, and legs, resulting in increased overall flexibility.
- You can gradually increase the number of rounds and watch the pounds disappear. Bends and stretches help you lose weight in a more even manner.
- It increases blood circulation to the scalp, which helps to prevent hair loss.
- It increases blood circulation throughout the body, keeping the skin young.
Steps to do Surya Namaskar:
Step 1: Prayer Pose

Stand at the mat's edge, keeping your feet together and distributing your weight evenly between both feet. Relax your shoulders and expand your chest. Lift both arms from the sides as you inhale, then bring your hands together in front of your chest in prayer position as you exhale.
Step 2: Raised Arms Pose
Lift the arms up and back while breathing in, keeping the biceps near the ears. The goal is to extend the entire body up from the heels to the tips of the fingers in this stance.
You can move your pelvis forward a little. Make sure you're reaching up with your fingertips instead of bending backwards.
Step 3: Standing Forward Bend

Bend forward from the waist, keeping the spine erect, while exhaling. Bring your hands down to the floor beside your feet as you exhale.
If required, bend the legs to bring the palms down to the floor. Straighten your knees with a modest effort now. It's a good idea to hold the hands in this position and not move them until the sequence is completed.
Step 4: Equestrian Pose

Push your right leg back as far as you can while breathing in. Put your right knee on the floor and raise your head.
Make sure the left foot is exactly in the middle of the palms.
Step 5: Stick Pose

As you inhale, move your left leg back and your entire body into a straight line. Make a perpendicular relationship between your arms and the floor.
Step 6: Salute with Eight Parts or Points

Exhale as you gently lower your knees to the floor. Take the hips slightly back, slip forward, and lay your chest and chin on the floor. Raise your backside a slight bit. The floor should be touched by two hands, two feet, two knees, chest, and chin (eight body parts).
Step 7: Cobra Pose

Slide forward and elevate your chest, into the cobra pose. In this stance, you can keep your elbows bent and your shoulders away from your ears. Take a look at the ceiling.
Make a delicate effort to push your chest forward as you inhale, and a slight effort to push your navel down as you exhale. Tuck your toes in. Make sure you're stretching as much as you can without overdoing it.
Step 8: Downward Facing Dog Pose
Lift the hips and tailbone as you exhale, bringing the body into an inverted 'V' stance.
Keeping the heels on the ground and making a slight effort to lift the tailbone will allow you to move deeper into the stretch.
Step 9: Equestrian Pose
Taking a deep breath in, step forward with your right foot in between your hands. The left knee lies on the ground. Look up and press your hips down.
Place the right foot in the precise middle of the two hands, with the right calf perpendicular to the ground. To deepen the stretch, gently push the hips down towards the floor while in this position.
Step 10: Standing Forward Bend
Exhale and step forward with your left foot. Keep your palms flat on the ground. If necessary, you can bend your knees. To deepen this yoga stretch, straighten your knees and, if possible, touch your nose to your knees. Continue to breathe normally.
Step 11: Raised Arms Pose
Inhale deeply and roll your spine up. Raise your hands and bend backwards a little, slightly pushing your hips outward. Make sure your biceps are parallel to your ears. Rather than stretching backwards, the goal is to stretch up more.
Step 12: Mountain Pose
As you exhale, straighten your spine first, then lower your arms. Relax in this position and pay attention to your body's sensations.
One Surya Namaskar set is now complete. Repeat the steps to complete the round. Only this time, begin by putting your left foot behind you in step 4 and bringing your right foot forward in step 10. You'll have finished one round of Surya Namaskar after you're done.
This article is written by the TRUEREVO editorial team. TRUEREVO is an award-winning functional sportswear brand that makes unique products for men & women focused on running, training & sports. Check it out at https://truerevo.com/